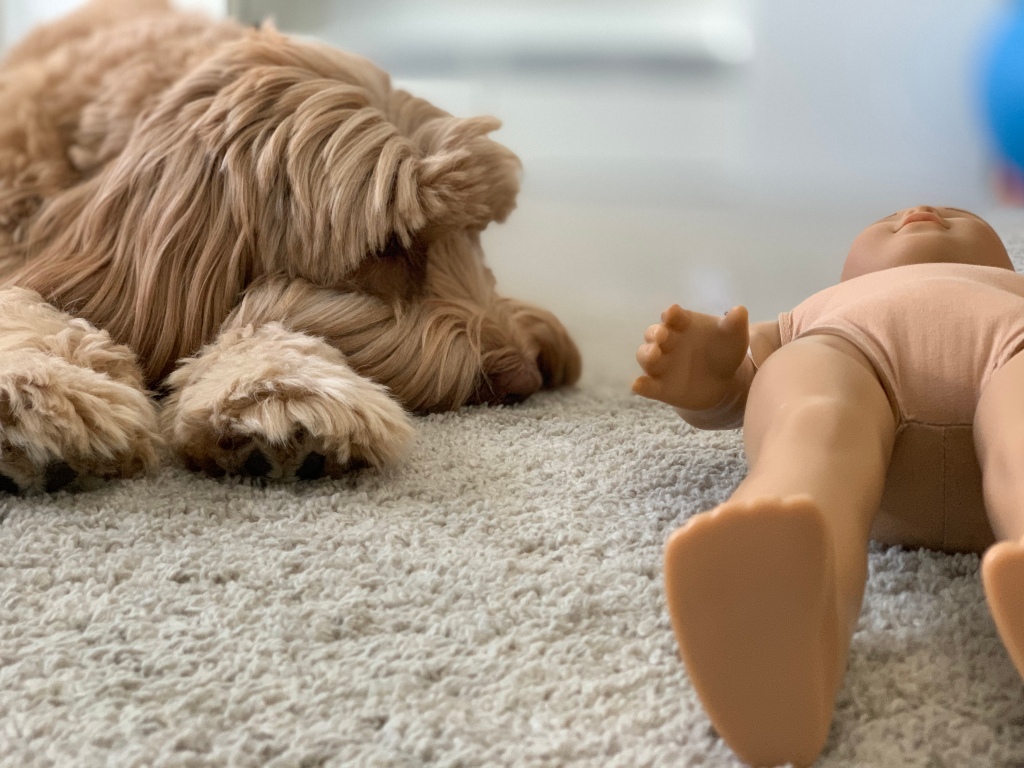
Hello my amazing readers! So, I totally haven’t been procrastinating posting this, but we really wanted to share a recent project we’ve been working on. As some of you already know, we bought a used Marie-Grace doll off of FacebookMarketplace for just $75, including shipping! My initial plan was to replace her wig with the one I bought off of Etsy, but when she arrived, I couldn’t bring myself to take off her wig, despite its condition. I guess I just wasn’t ready to customize a doll? I honestly don’t know why I waited so long. After a few weeks though, I finally decided to follow through with my plan and customize her. Today’s post will be showing the customization process! Let’s get started!
*warning: This turned out to be a rather long post; we just thought it would be best to put it all together.*

Here she is in her original form as Marie Grace. During her time pre-customization, we did take her for one photoshoot. Would y’all like to see it even though she doesn’t look that way anymore?

Prior to the wig swap, I cleaned her vinyl up a bit. Although the description of her on Facebook Marketplace mentioned a lack of scuffs and shine marks, when she arrived, there were clearly more than described. However, I was able to use a recipe for vinyl cleaner found online (unfortunately, I can’t tag or link the videos/posts, as I don’t know where I found them). I do know that it involved water and baking soda, which you mix to a “toothpaste”-y thickness. After mixing up the solution, I wrapped a clean wrap around her body and tied up her hair, so as to not get any anywhere it wasn’t supposed to go. As this was my first time doing this, it’s possible I was being slightly too cautious, but then again, you can never be too cautious. 😀

*yes I know she isn’t wearing the rag mentioned before. I took it off to do some of her vinyl*
Using another rag, I dabbed the mixture onto her vinyl, specifically the shine marks. Then, let it sit for a minute or so before gently rubbing it off. Personally, I didn’t get the shine marks off entirely, although they are a lot less noticeable.
Then it was time to rewig her! I bought a super cute short, blond wig from ZazouDollCo off of Etsy!


And it was off! We didn’t use a silicone wig cap, although I did buy one. Instead, my dad helped me pull it on to the correct position.

And here she is! The final result!
Although the real Enid has freckles and colored hair tips, I decided to leave those off (technically, I did try to give her freckles using watercolor, but they came off even after drying!). I might give her freckles if I find a different technique, but even without them, I think she looks a lot like Enid, and is super cute and pretty!
Sorry that this post was rather short! Her first photoshoot will be posted soon, and we will also add her profile on the Meet the Dolls page. In the meantime, we hoped you enjoyed seeing how we fixed up and customized her! We also hope to introduce her in a photo story at some point, although we’re not entirely sure how to introduce her yet. Until next time! Have a great rest of your day!


Hi, Enid! It’s so nice to meet you! As always, Vivisanne, gorgeous photos!
LikeLiked by 3 people
Enid: nice to meet you too!
Vivianne: ah thank you!!!
LikeLiked by 2 people
Enid is adorable! The closest thing I’ve done to customizing is taking on Jessi’s head to tighten her limbs, so you did great! I can’t wait to see more from her!
LikeLiked by 3 people
Thanks! Oh wow! That’s honestly impressive… I’m too scared to tighten limbs!
LikeLiked by 2 people
Yay! I’ve been waiting for you to make a post about her!!! She is really such a beauty!! I’ve never really customized a doll before, except when I painted over the highlighted on Miyax’s lips (I got her for free, but used) I’m super happy for you Vivianne!! I’m absolutely sure you will enjoy your new home, Enid!!
LikeLiked by 2 people
I’ve been so excited to introduce her! I agree! She’s so pretty. Oh that’s cool! I tried giving her freckles but they came off. 😦
Enid: thank you Sofia!
LikeLiked by 1 person
Wow!!!! She looks awesome!!! Way to go!!!!
LikeLiked by 1 person
Thanks! 🙃
LikeLiked by 1 person
You’re welcome!!
LikeLiked by 1 person
Enid is adorable! Marie-Grace was my first doll actually, so I think she’s adorable even customized! I’ve used acrylic paint to give dolls freckles before. It isn’t perfect, but that might work better than watercolor!
LikeLiked by 2 people
Thank you! Ooh nice! She’s such a pretty doll. Ooh, ok! I might try that… thanks for suggesting it!
LikeLiked by 1 person
Enid looks great! Lovely photos, Vivianne!
LikeLiked by 2 people
Thank you so much!
LikeLiked by 2 people